
How to Photograph the Northern Lights (Even With Just Your Phone)
A local guide to photographing the northern lights in Finnish Lapland with your phone: the settings that work, the kit that helps, and when to just watch.
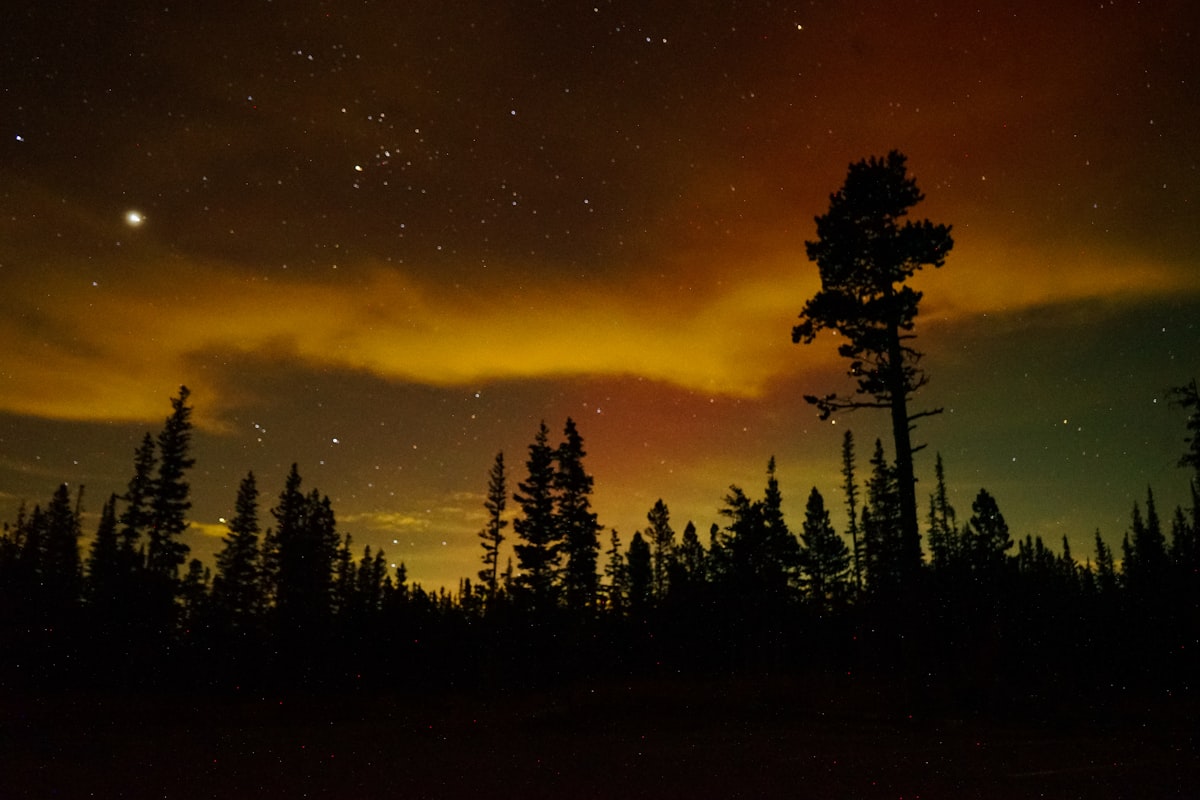
Photo: Unsplash
You stand under your first aurora, lift your phone, and the screen shows a grey smudge. This happens to almost everyone. You can photograph the northern lights with a phone and come home with a picture you are proud of, as long as you sort out a few settings before you go. This guide covers what works, what to pack, and the one habit that matters more than any camera.
Why your first aurora photo often fails
The northern lights move more, and glow more faintly, than other people's photos suggest. Your eyes adjust to the dark and follow the movement. A phone left on automatic tries to freeze a fast moment in near-total darkness and gives up. It brightens the noise, washes out the colour, and hands you a green haze.
A better phone rarely fixes this. A longer exposure and a steady base almost always does. Give the camera a few seconds to gather light, stop anything from shaking it, and the greens and violets your eyes strain to hold will come through.
The kit that actually helps
You need less than the photography blogs suggest. A phone from the last few years, a small tripod, and gloves thin enough to tap through will carry you most of the way.
The tripod is the part people skip and then regret. Holding a multi-second exposure by hand guarantees blur. A cheap phone tripod that folds into a jacket pocket removes the problem. Pack a phone clamp too if the tripod does not include one.
Cold flattens phone batteries fast, sometimes within minutes at -20°C. Keep a power bank and your phone in an inside pocket against your body, and bring the phone out only when the sky turns active. For a proper camera, a spare battery does the same job.
Phone settings that work
Every phone differs, so treat these as starting points and adjust on the night.
On an iPhone, open the Camera and let Night mode appear in the dark. Tap the moon icon, then drag the exposure slider towards its maximum, which climbs higher once the phone rests on a tripod. Tap the sky to lock focus far away, switch the flash off, and stay at 1x. If your model shoots ProRAW, turn it on for cleaner editing later.
On most Android phones, open Night mode or Pro mode and set the numbers yourself. A reliable starting range: ISO 800 to 3200, an exposure of 2 to 6 seconds, and manual focus set to infinity. Shoot RAW where the phone offers it, since a standard JPEG often smears the aurora's detail away.
| Setting | iPhone | Android (Night / Pro) |
|---|---|---|
| Mode | Night mode | Night or Pro mode |
| Exposure | Slider towards maximum | 2 to 6 seconds |
| ISO | Automatic in Night mode | 800 to 3200 |
| Focus | Tap the sky (far away) | Manual, set to infinity |
| Format | ProRAW if available | RAW if available |
| Zoom | Stay at 1x | Stay at 1x |
Whatever the phone, the pattern holds. Steady it, give it time, focus on something far away, and take several frames. The sky shifts second to second, so one of five will usually beat the rest.
A few minutes of practice before you fly
Learn the two or three taps in the dark before you need them. At home, on a dark evening, put the phone on the tripod, open Night mode, drag the exposure long, and shoot the darkest corner of a room or the night sky from a window. You want the motions to feel automatic, because the aurora rarely waits while you hunt through menus. Charge the power bank, stand the tripod by the door, and you have removed the two things that spoil most first attempts.
Watch first, shoot second
Here is the habit that matters most. When the aurora finally moves, put the phone down for the first few minutes and watch it.
Plenty of people arrive with a shot already in their head, spend the whole display hunched over a small screen, and miss the thing they travelled for. Set the phone up early, take a few frames, then step back. The photo is the souvenir. The night is the trip.
Give the sky something to stand on
An image of pure aurora with nothing beneath it falls flat. Anchor the frame with a foreground: a line of snow-loaded pines, a frozen lake, a cabin window with a warm light inside, a person standing still in a headlamp's glow. Keep the horizon low, around the bottom third, and let the sky fill the rest.
A still subject reads sharp; a moving one blurs across a long exposure, so ask anyone in the shot to hold for the full few seconds. Deep-winter Lapland often hands you clean, dry, dark air with little light pollution, which is exactly what a long exposure wants.
The part no guide can promise
The aurora is a natural event, and nobody can guarantee it on any given night. Cloud, timing, and solar activity all get a vote. Chasing clear skies away from town lights improves your odds, and the far-north bases sit under darker skies than the cities, yet no night comes certain.
That deserves saying plainly, because a trip pinned to one perfect photo can let you down. Build it around the whole week instead: the snow, the quiet, the sauna, the reindeer, the long blue afternoons. When the sky does open, your settings will be ready and your tripod planted, and the photo will look after itself.
To work out when the lights are most likely and how the season behaves, our guides to the northern lights in Finnish Lapland and the best time to see them go deeper.
Let us plan the trip around your best chance
We plan Lapland trips around the things that genuinely raise your odds: the right base for dark skies, the right weeks of the season, and guides who set your phone up and wake you when the sky lights up. You watch. The photo still works.
Start your journey and tell us what you want to bring home.
Planning a trip to Lapland?
We plan one trip at a time, by hand, around the people travelling. Tell us what you're after and we'll come back to you personally.
Start planning